Get creative outdoors and add some decoration with our Wi-Fi Controlled Garden Lights! Increased home security never looked better.
Take the first step in improving your home security by adding in the correct Garden Lights around your home. In this blog, we show you the best practices for planning, choosing your garden lights, efficient ways to install each light, connecting our new controller to your smartphone and more! Now your home can be stylish and safe, all at the same time.
Planning
Being aware of what areas in your front or back garden that need improved visibility, is the first step in this project. Take note of these areas at night time and measure out the total space needing to be lit up. This will make it easier for you to decide how many lights are needed for your particular area.
Other points to consider are what kind of lights will you be using, where your Garden Light Controller is located, and who has access to adjusting your Garden Lights. Once you have decided on what areas need lighting, it’s time to pick a colour system – Warm White or RGB Colour.
Lighting Styles
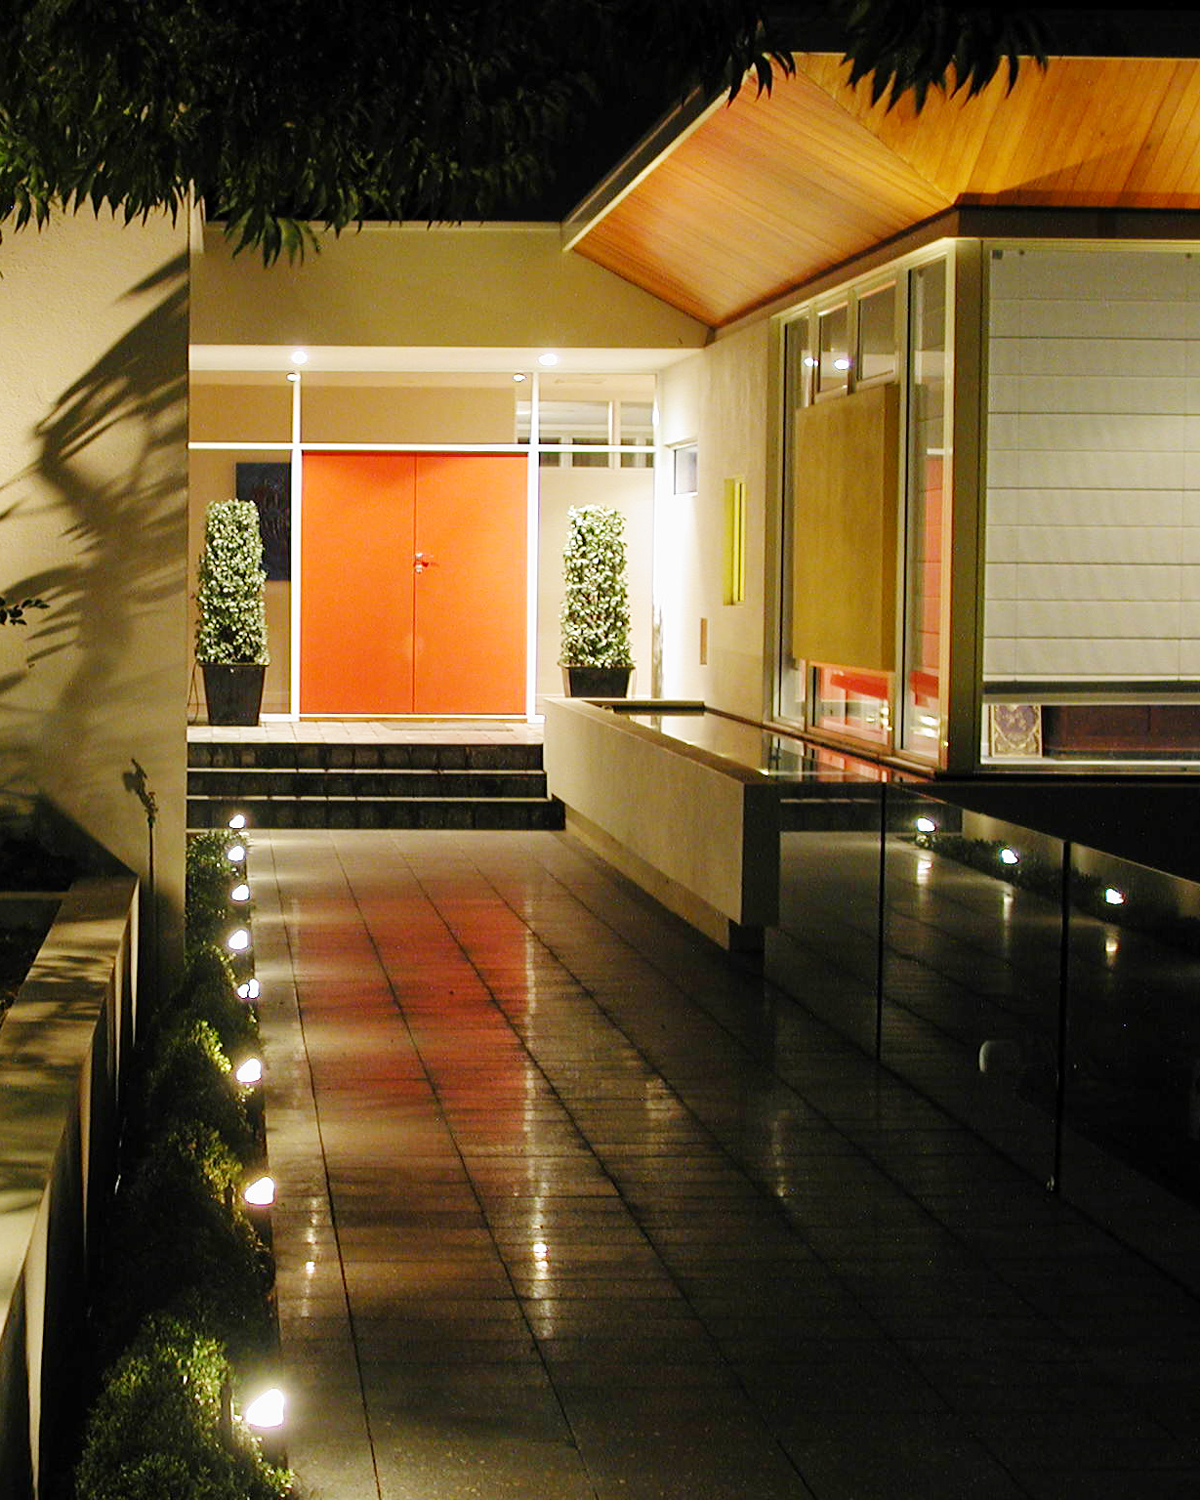
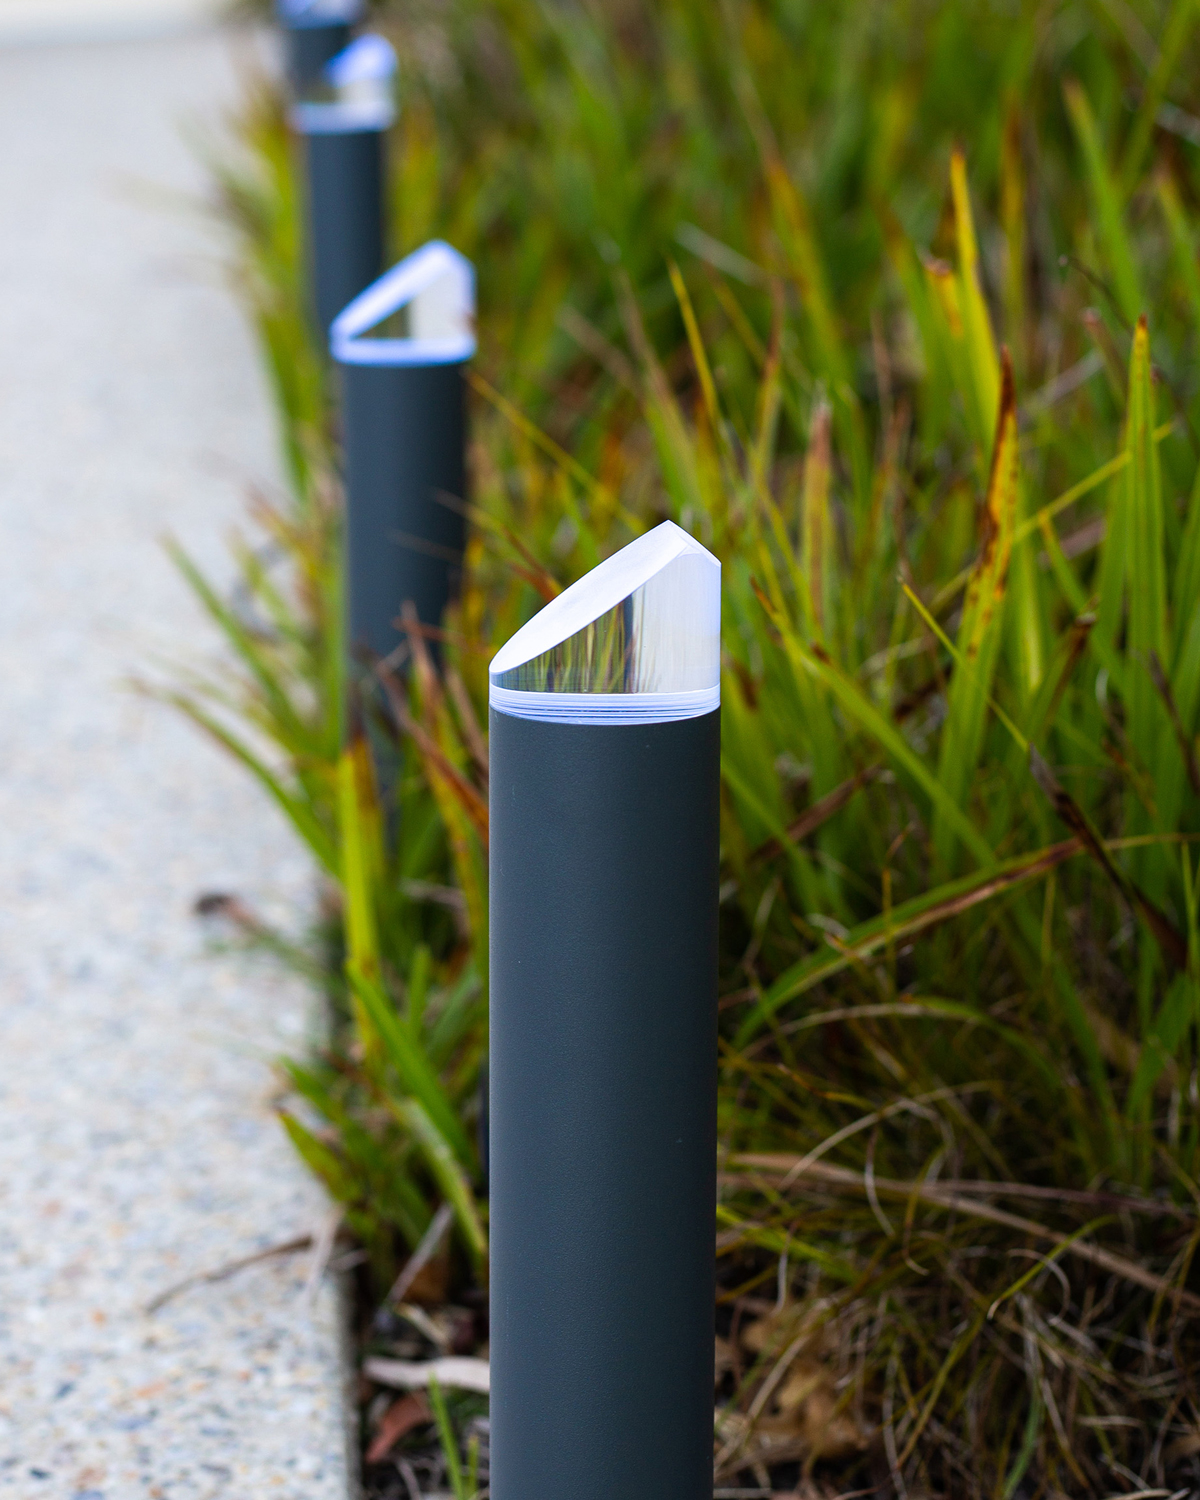
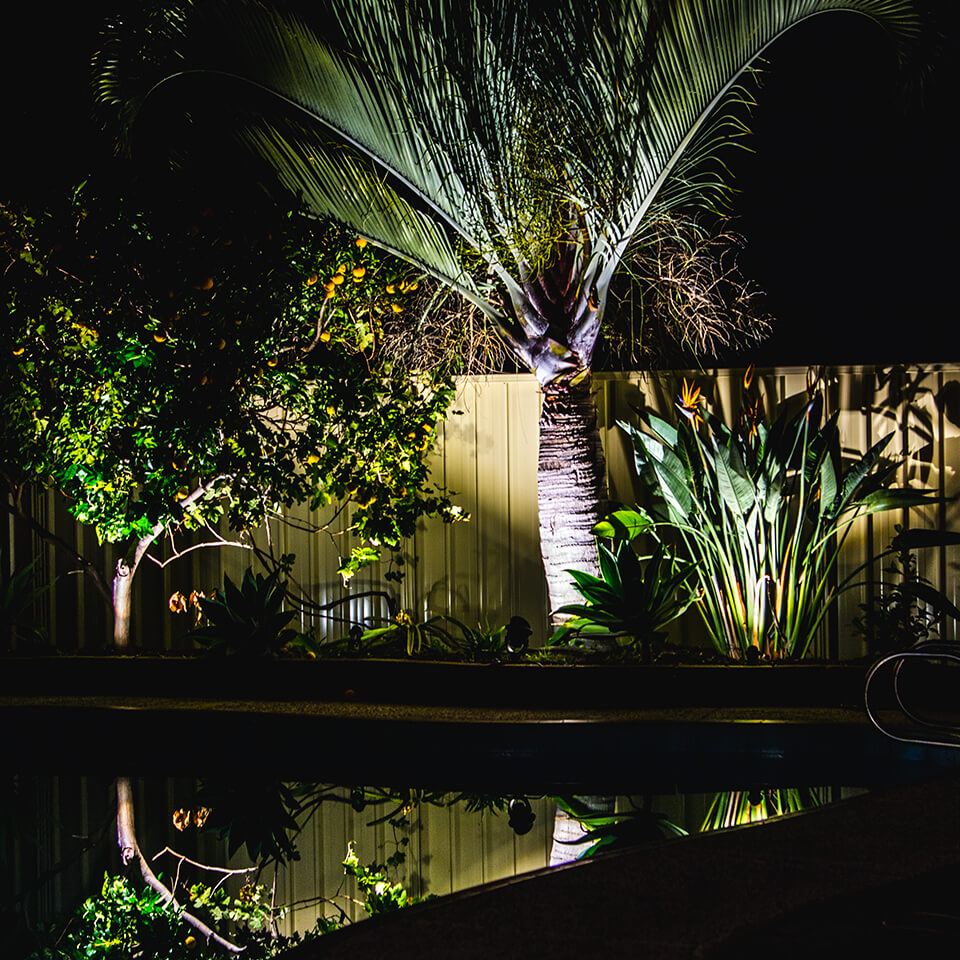
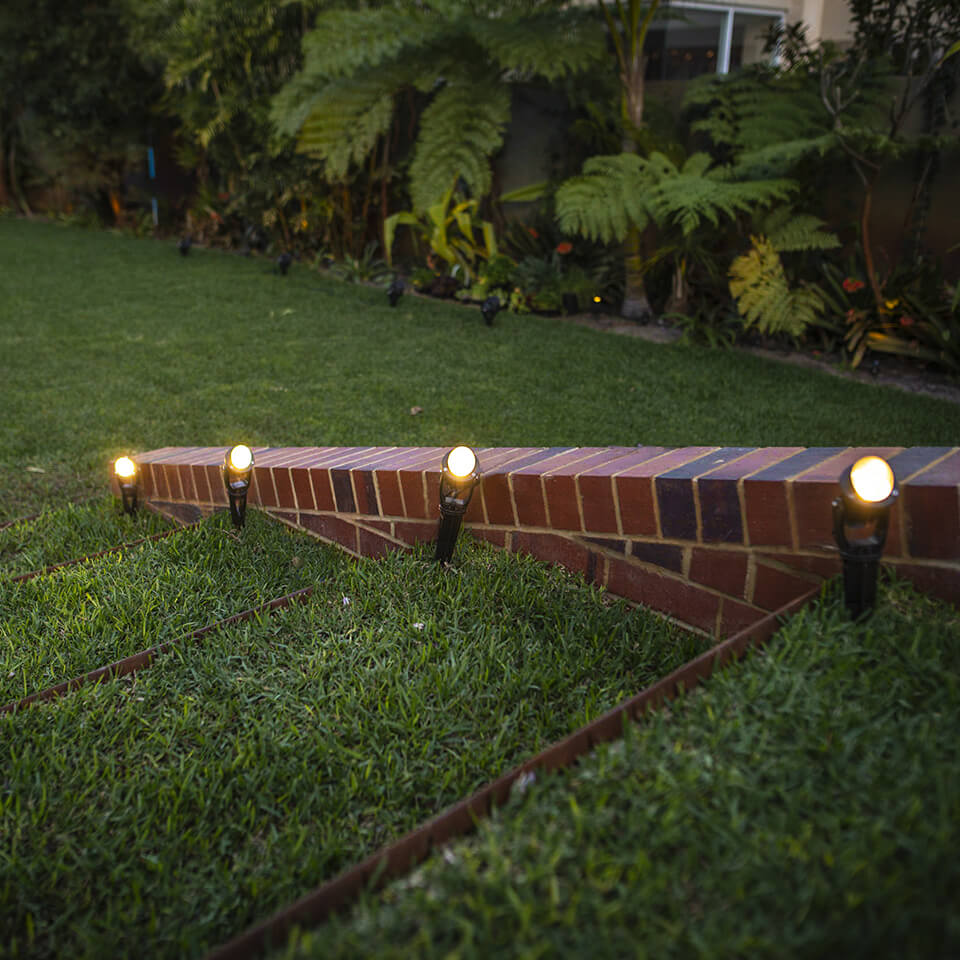
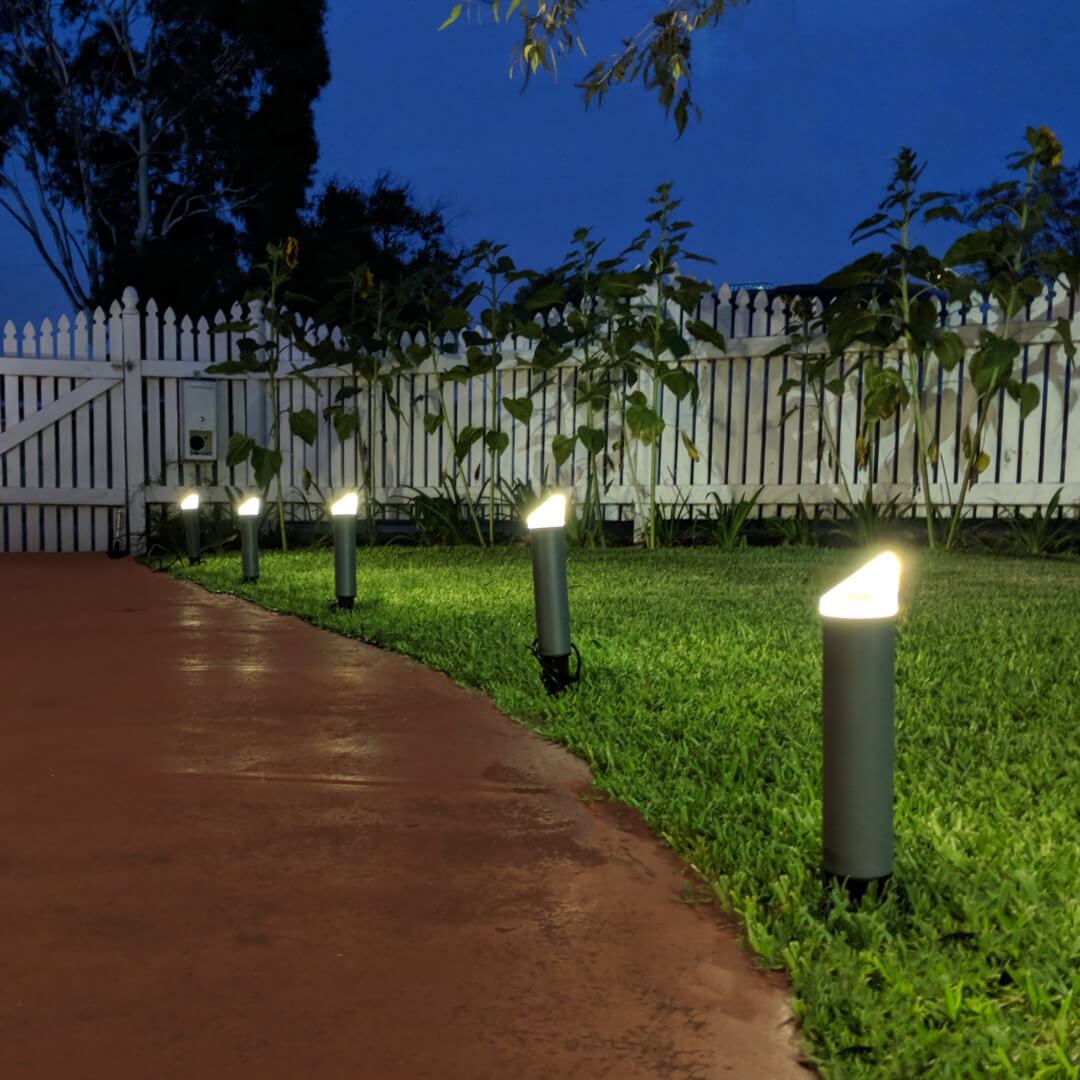
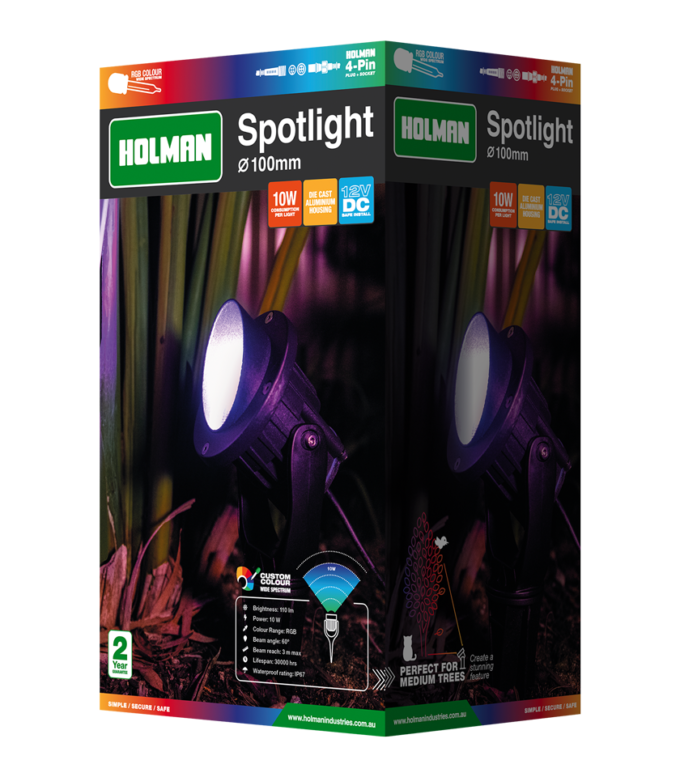
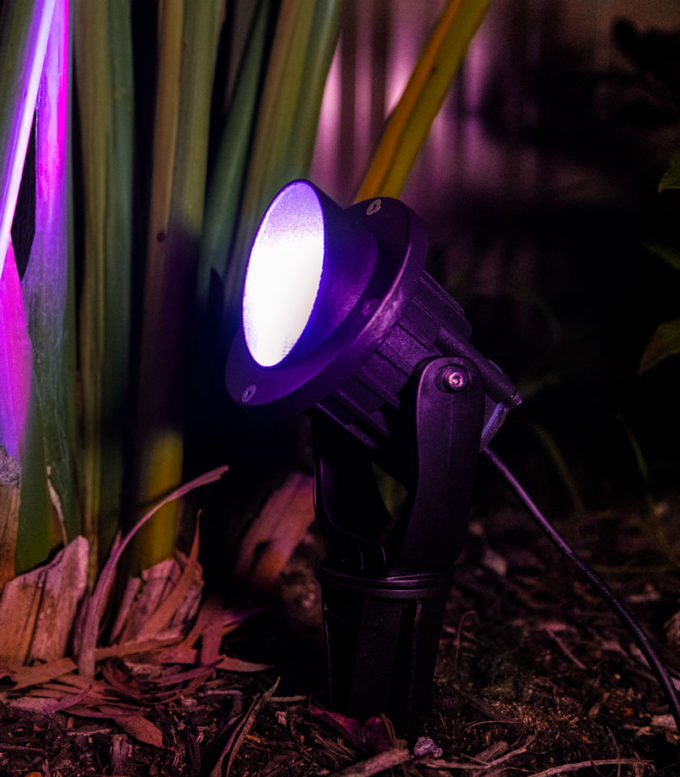
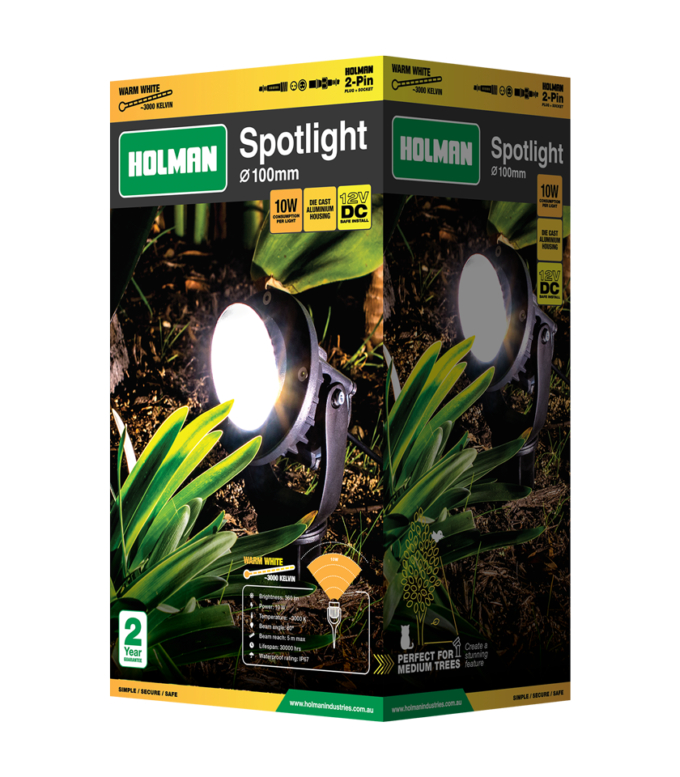
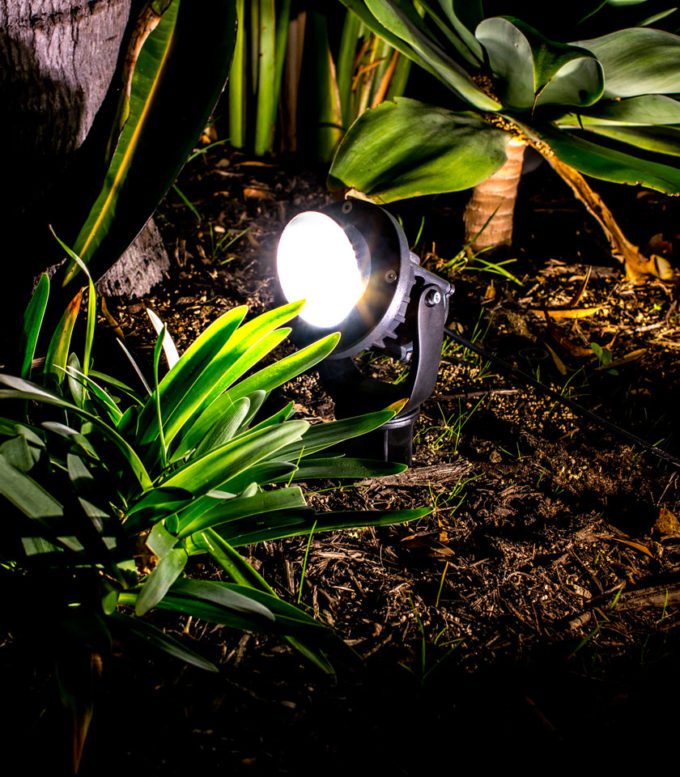
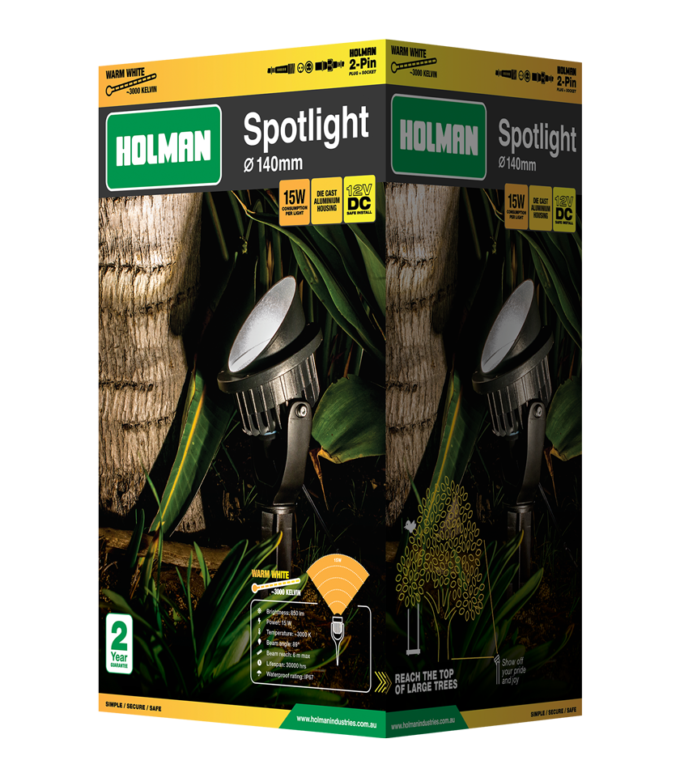
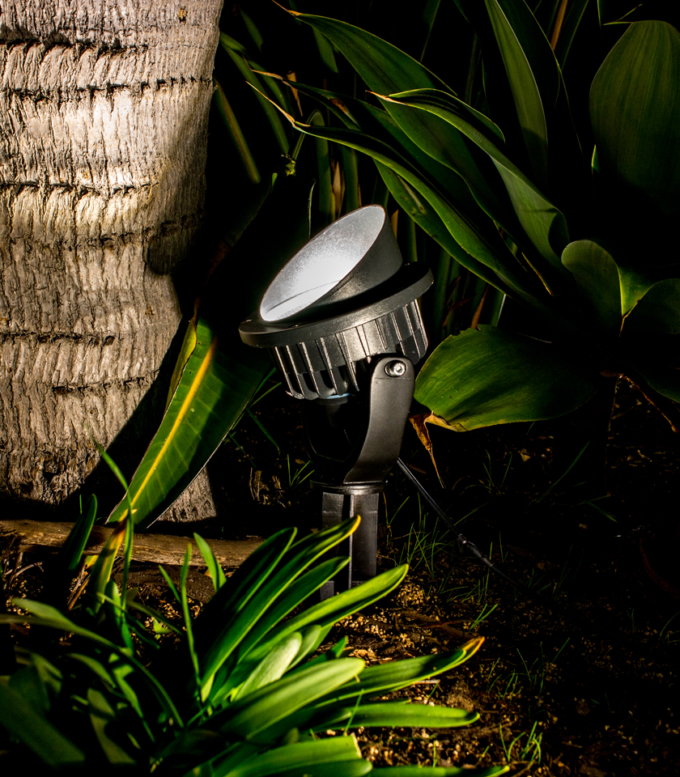
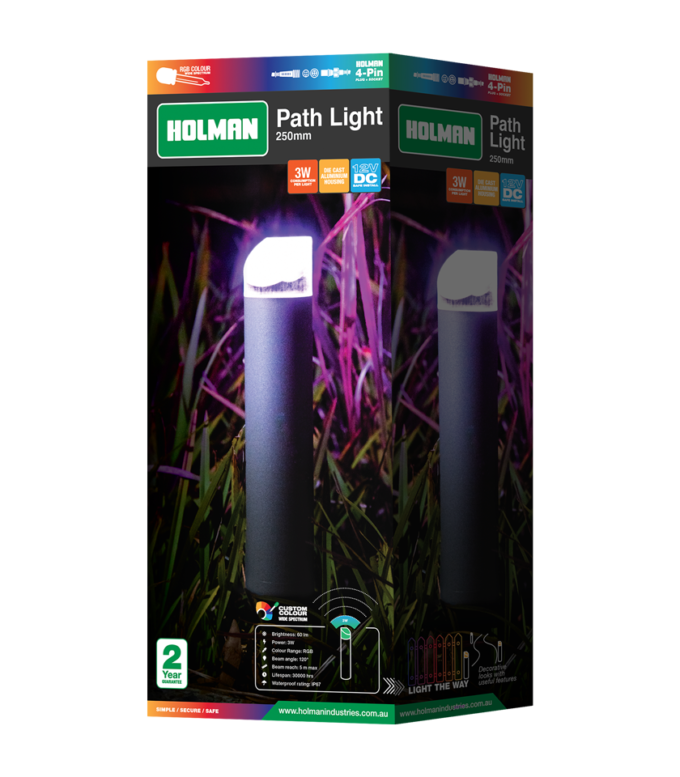
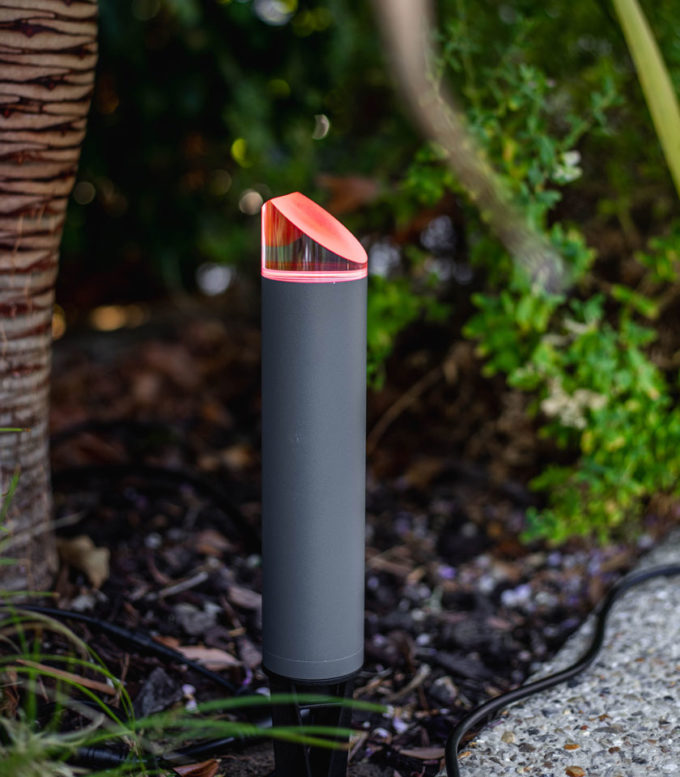
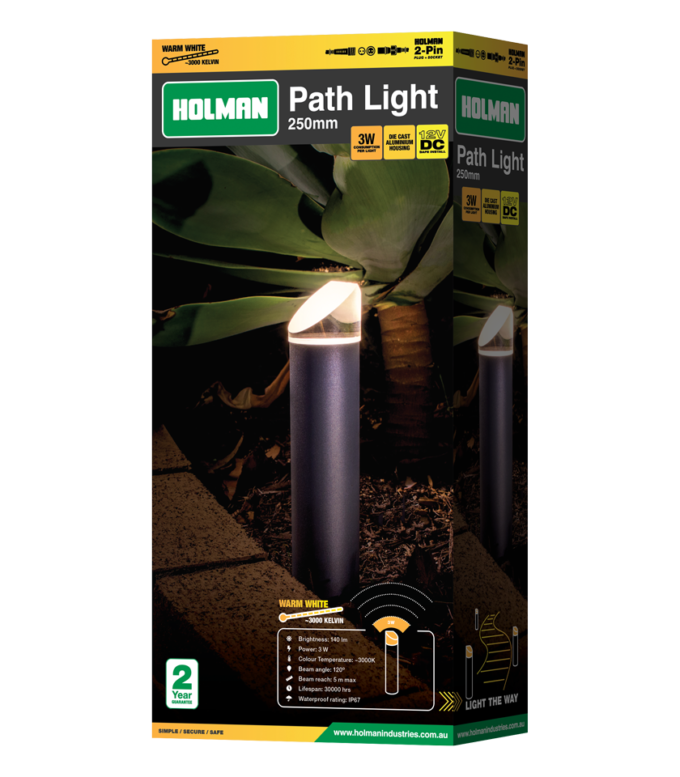
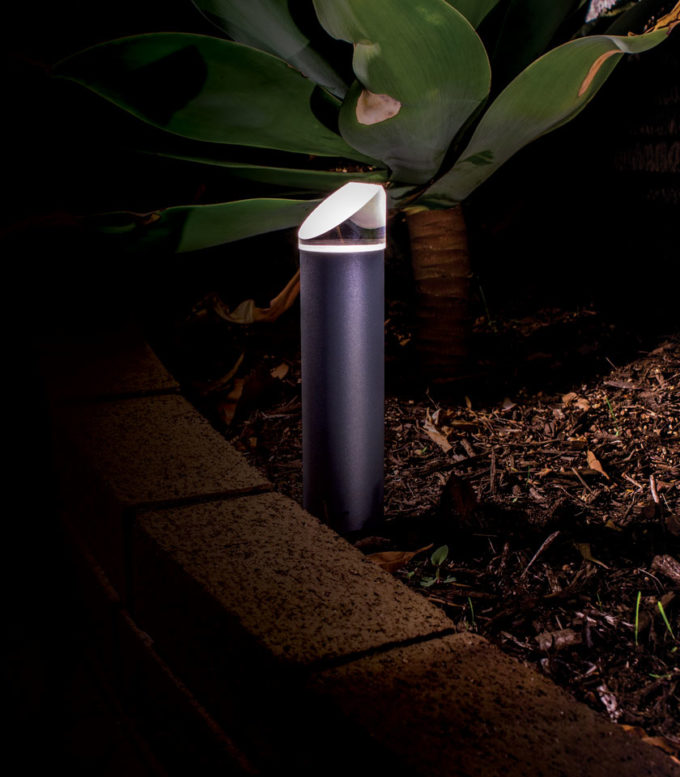
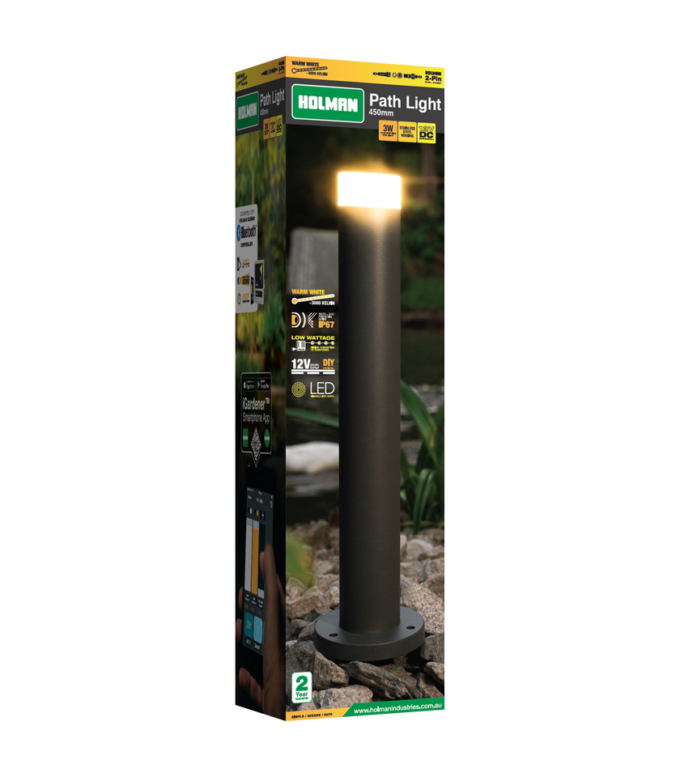
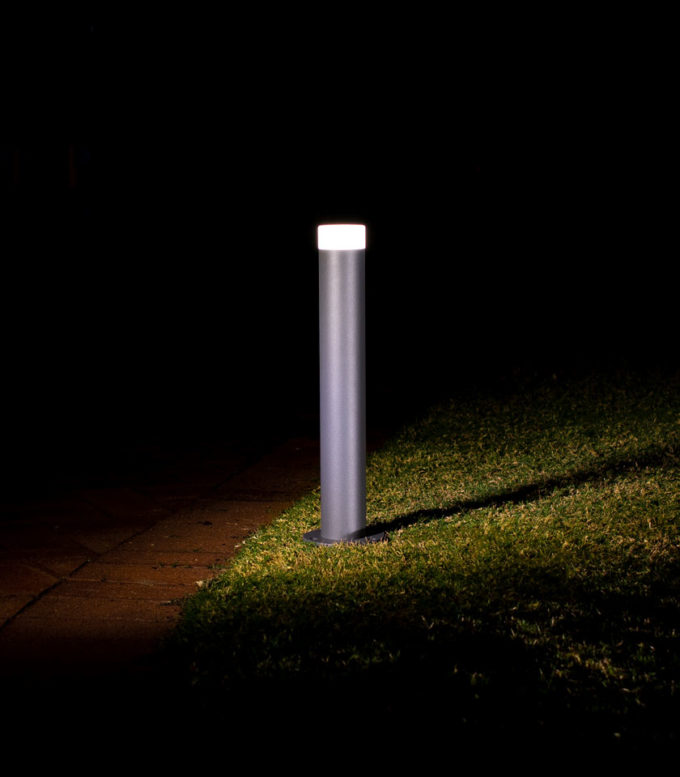
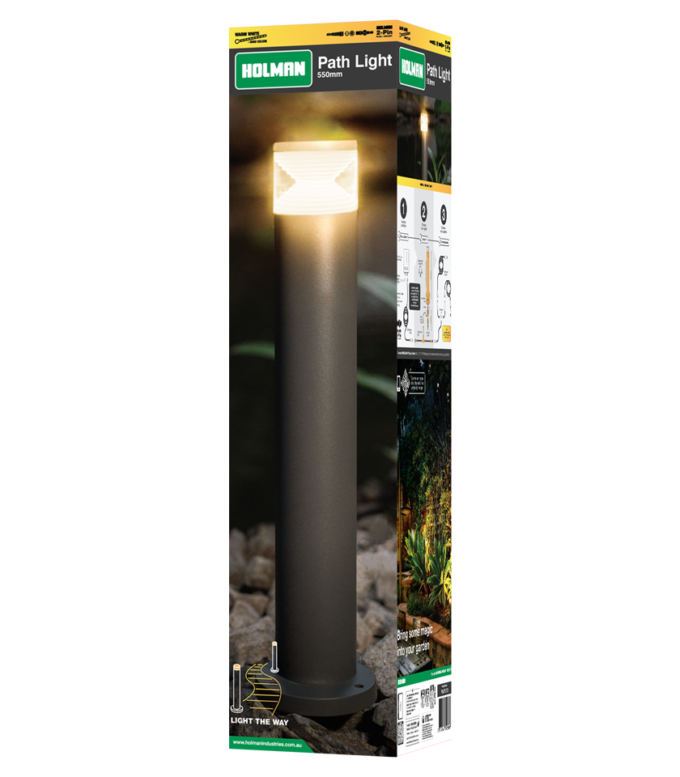
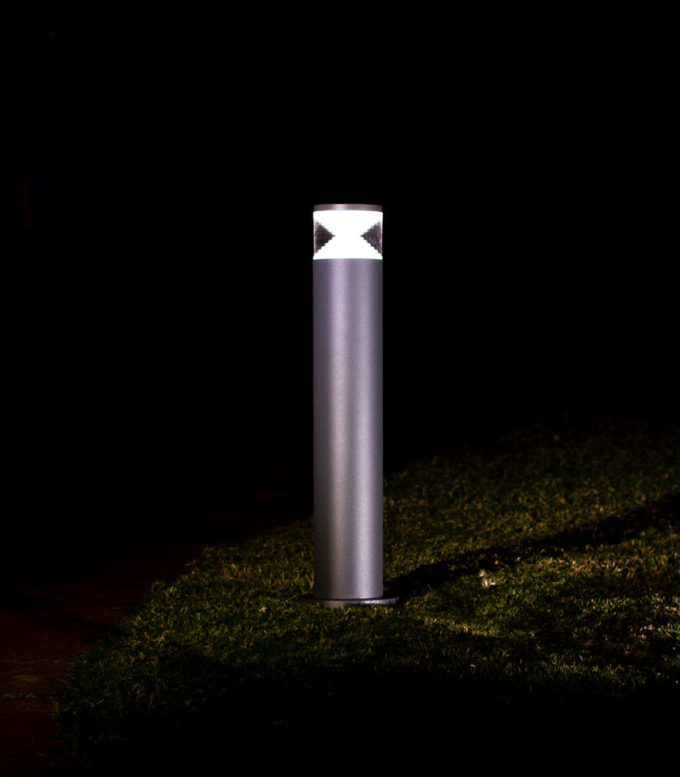
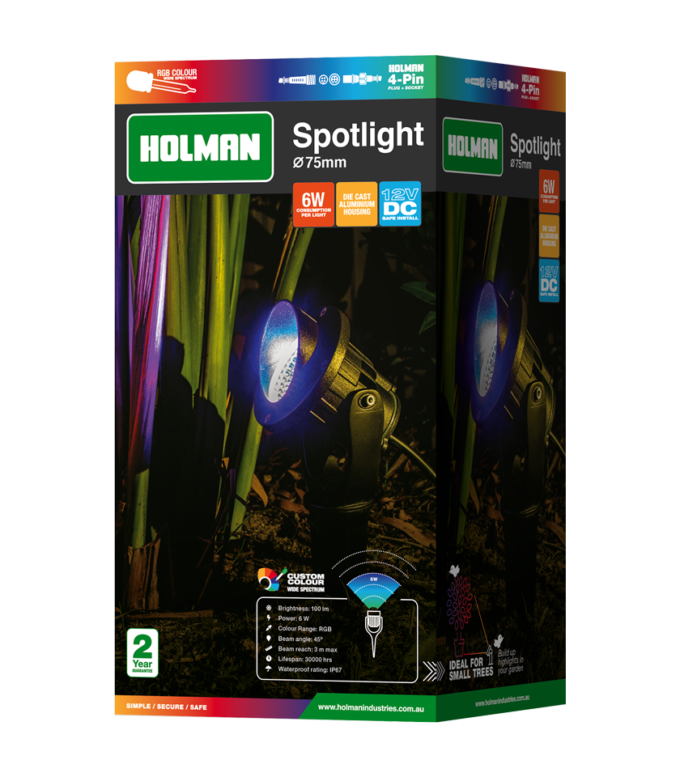
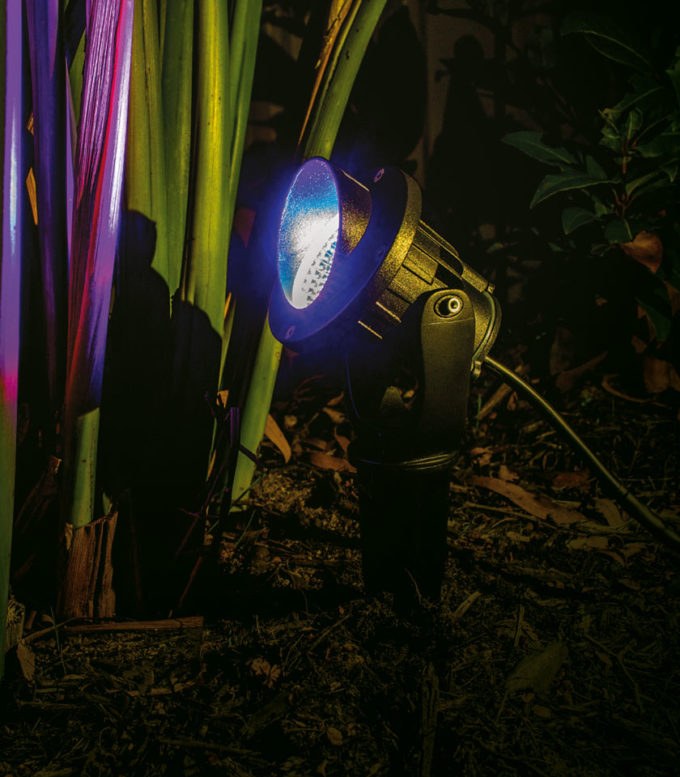
Path lights are a great option for creating safety barriers or lighting up your driveway, the edges of paths and the entrance to your home. Spotlights come in various sizes and are great for targeting dull trees, dark corners and illuminating larger areas of your lawn or backyard.
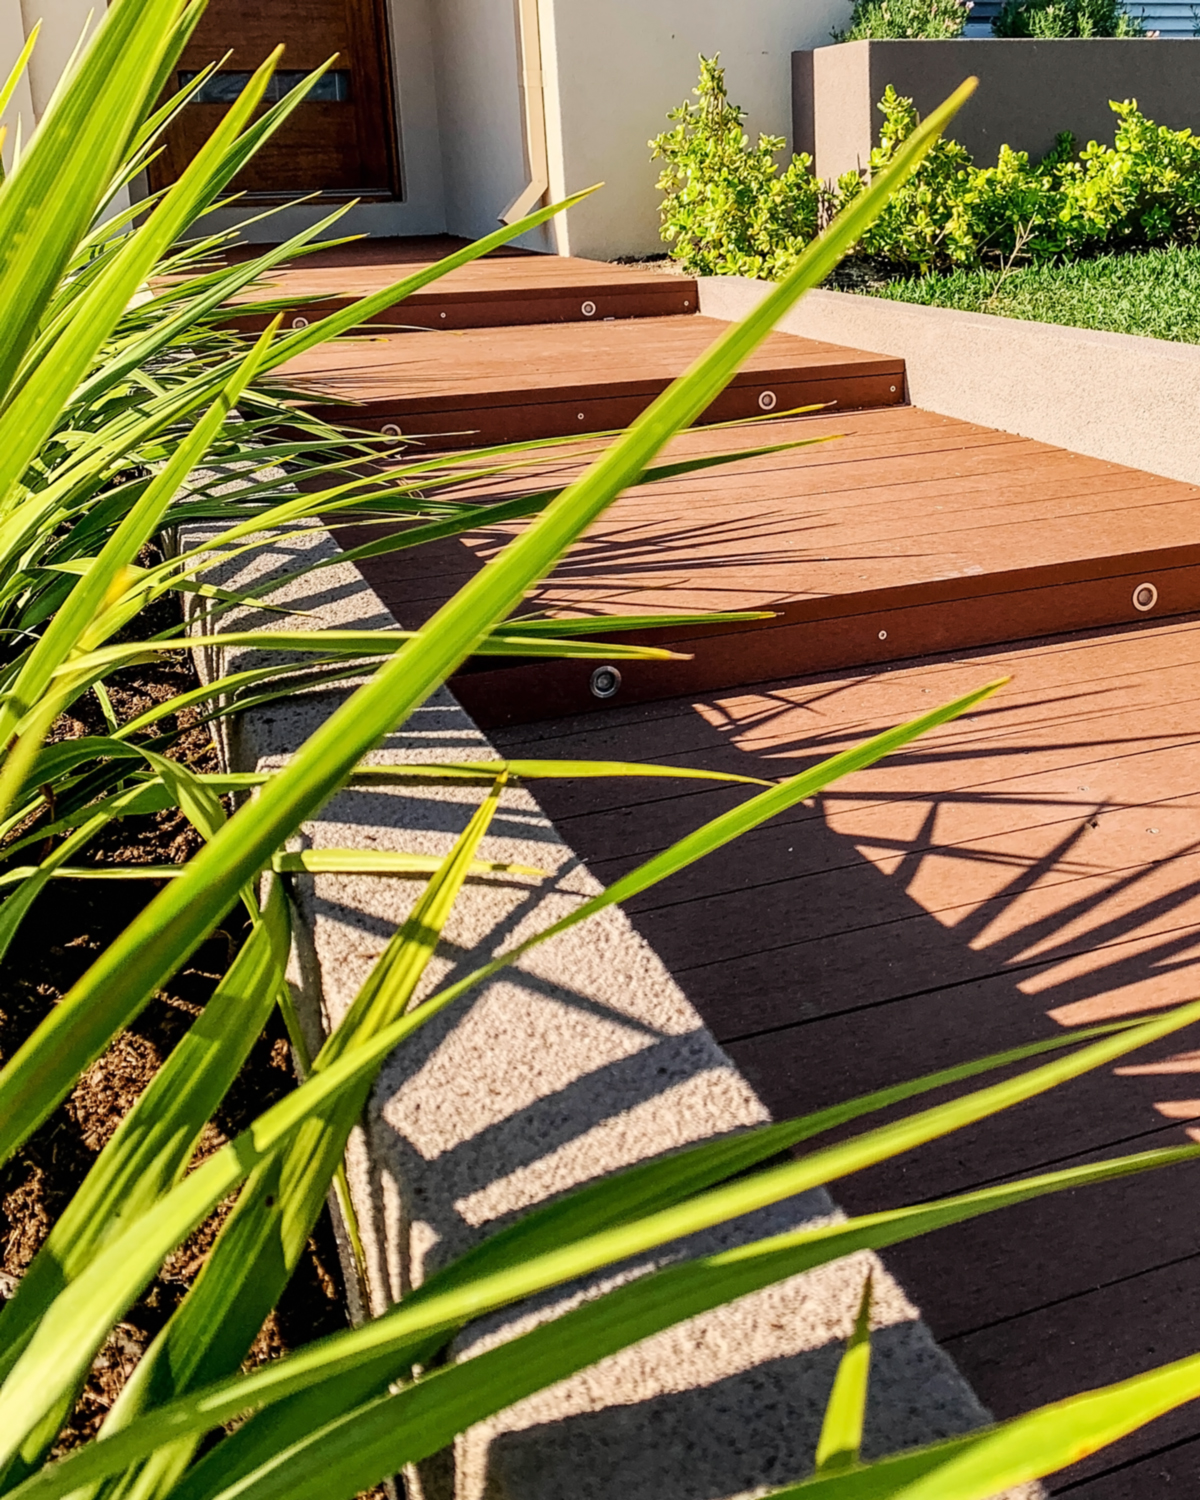
If you have decking or feature steps at the front or rear of your house, our Deck Lights can be added into your current decking. They can be placed into steps to help improve visibility and come in three different sizes depending on how much light you need and what colour lights you choose. Adjustments are now even easier through our Holman Home App which features voice command, compatible with Amazon Alexa and Google Assistant (for RGB Colour Lights only).
Installing your lights
Now that your design and garden lights are picked out, you can begin the installation. Our Path Lights and Spotlights all have a simple garden spike and connection tee for easy placement in the ground, garden beds and lawn. Deck Lights require a drill for installation and panels may have to be removed. Check out our latest blog on how to install garden lighting.
Once all your lights have been placed in position, connect them together with our Plug & Socket cabling, making sure to tighten the end cap on the end cable. Once all your lights are connected and working, hide your cables under mulch, soil or pavers.
Connecting to your Smartphone
Once you have hidden the cabling, you are now ready to test out the design. If you find some areas are too bright compared to others, our Plug + Socket System allows you to easily unplug, move and swap around garden lights as you please.
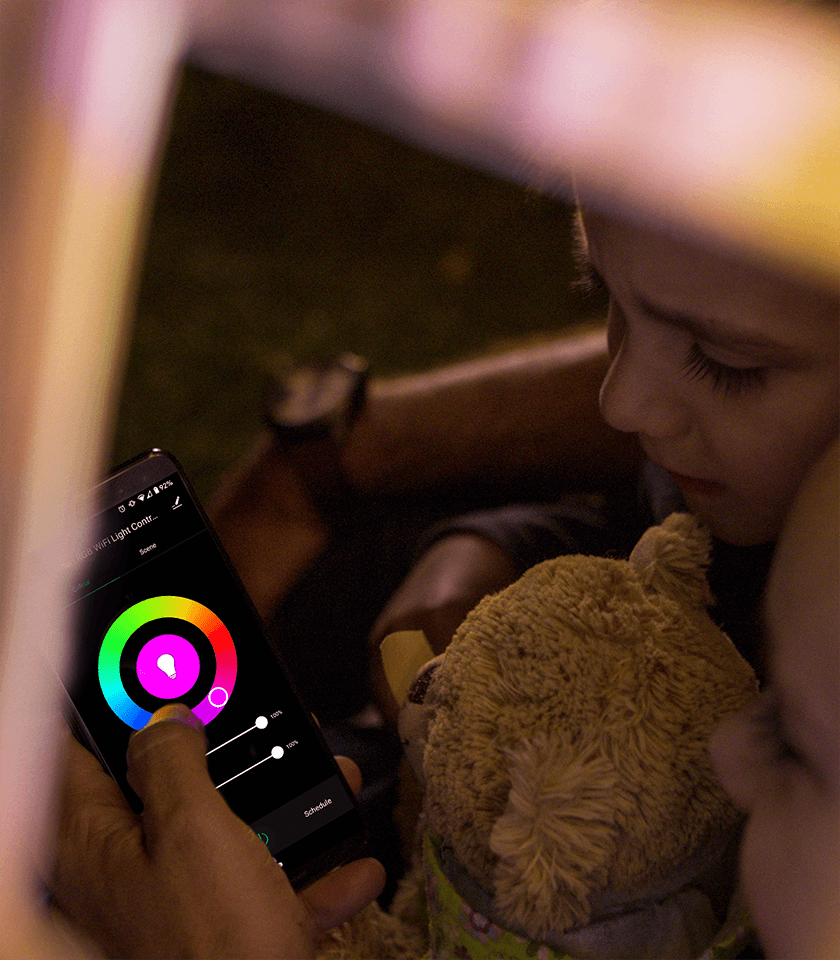
Establish a connection to your garden light controller via Bluetooth or your selected Wi-Fi network depending on your controller. Ensure that you are connected to this network on your smartphone, log-in to the corresponding app and follow the prompts. Once connected, you will be able to add and adjust lighting schedules, change colours and lighting intensity.
Using garden lights with home security systems
If your home has a smart security system, and you are notified of movement or unwanted visitors whilst you are away from home – you’ll be able to turn on your garden lights at the press of a button.
With the Holman Home App, you are able to choose from other options including a 24hr and 7-day scheduling options, this gives you the ability to turn your garden lights on just as it gets dark, and switch off in the early morning. The latest smart automation allows you to turn your Garden Lights ON or OFF, depending on weather conditions. This way you can schedule your lights to turn off just before the sun sets, allowing your house to always be lit up.
You can schedule these settings for the weekend, or add or subtract days as you need. All accessible from anywhere in the world.




 No products in the cart.